![]()

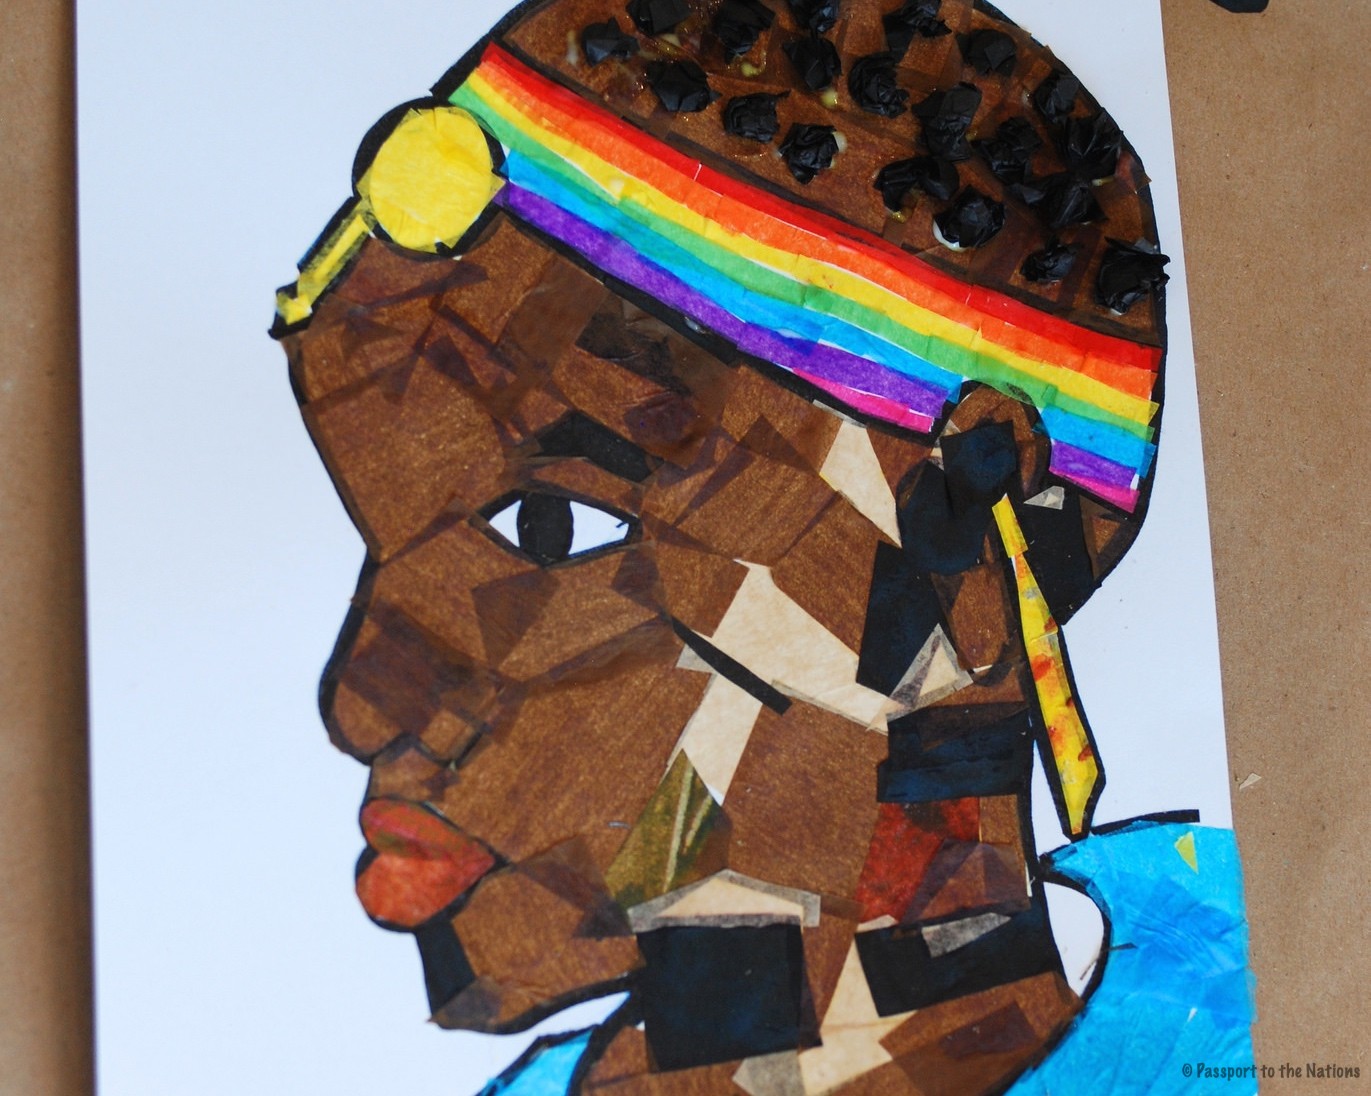
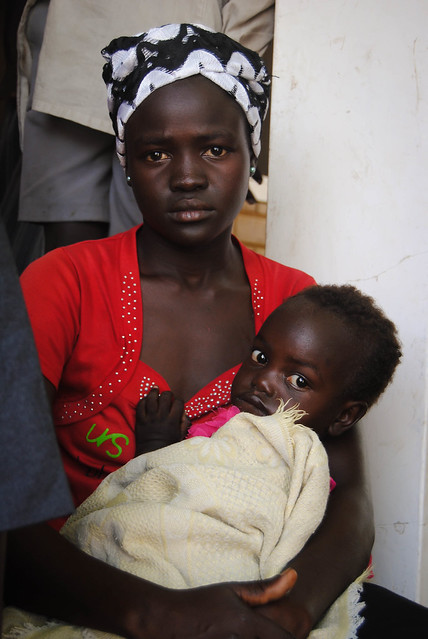
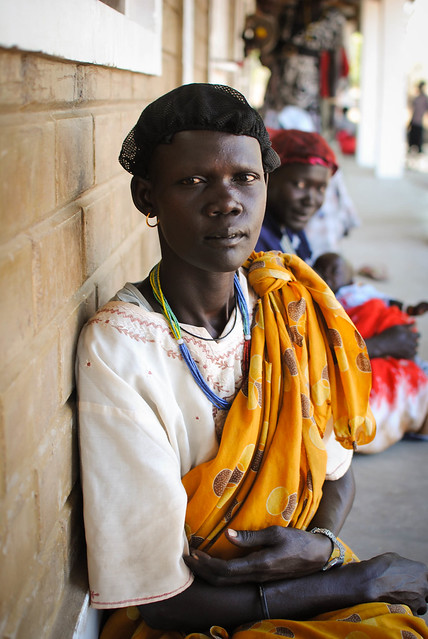
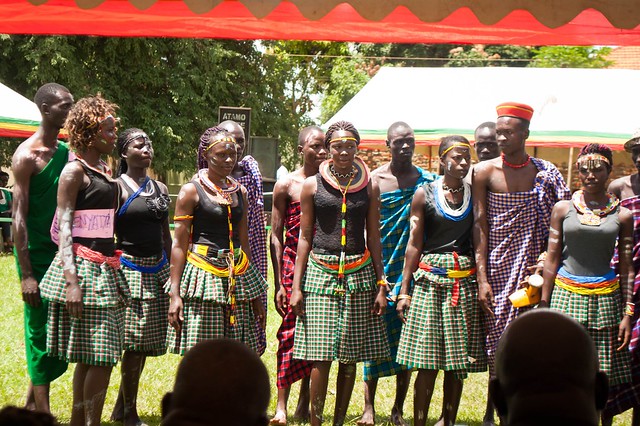
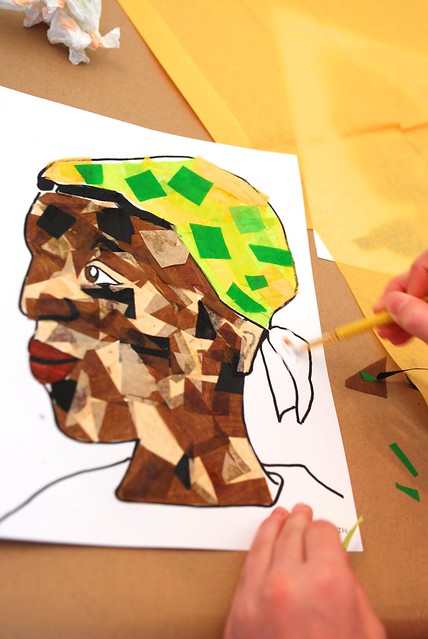
This project highlights the strong and beautiful features of the women of Sub-Saharan Africa.
To make a collage, an artist collects items and materials, piecing them together to form an image. This art form is common in many parts of the world, as it is a way to use texture to express different aspects of culture, tradition, and beliefs. In the Central African Republic, for example, folk artists gather butterfly wings from the ground to create African scenes made from this delicate material. In lieu of butterfly wings, the following project uses lightweight paper or tissue paper to create similar designs portraying African culture. Specifically, three designs of African tribal people are available for this project.
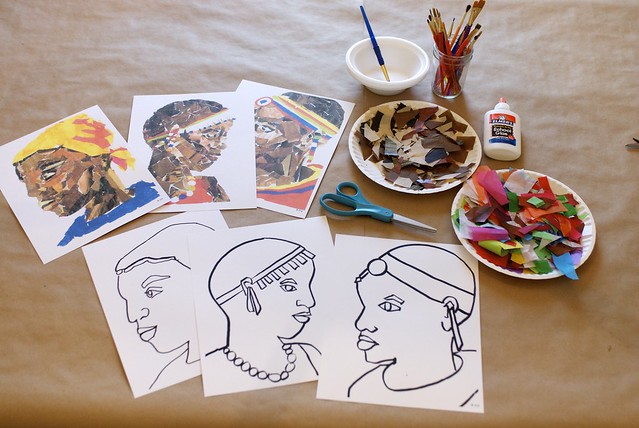
You will need:
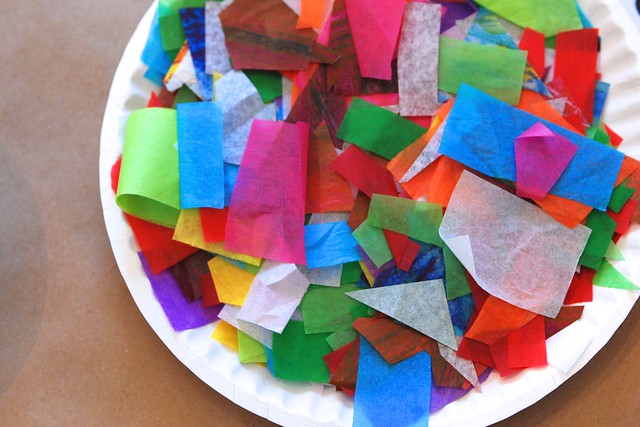
- Paper pieces – precut or tear tissue paper, construction paper, or magazine paper. Appropriate colors of paper for this project are various shades of brown and/or black for the faces and hair, and other vibrant colors such as red, blue, gold, green, and white for the clothing, headwear and jewelry.
- Glue
- Paintbrush
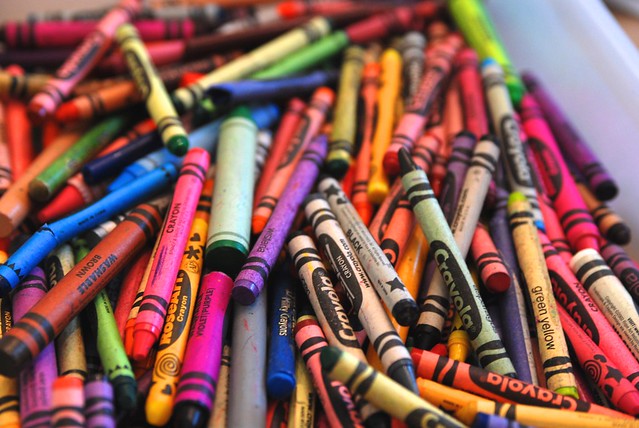
- Crayons
- Bowls for tissue and glue
- Collage template (Woman 1, Woman 2, or Woman 3), copied onto cardstock
- Completed projects (Woman 1, Woman 2 or Woman 3) to use as a guide
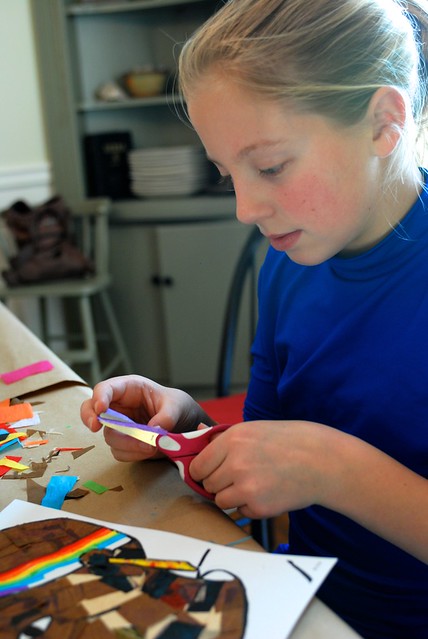
For a classroom setting, it is best to complete this project over two weeks. This allows students to take their time and pay attention to detail, which makes the end product more dramatic and impressive!
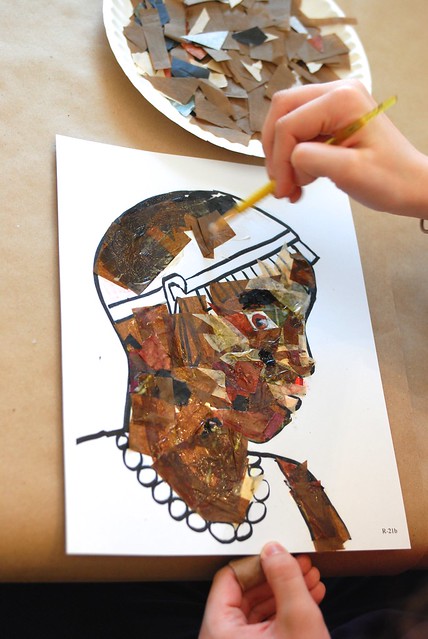
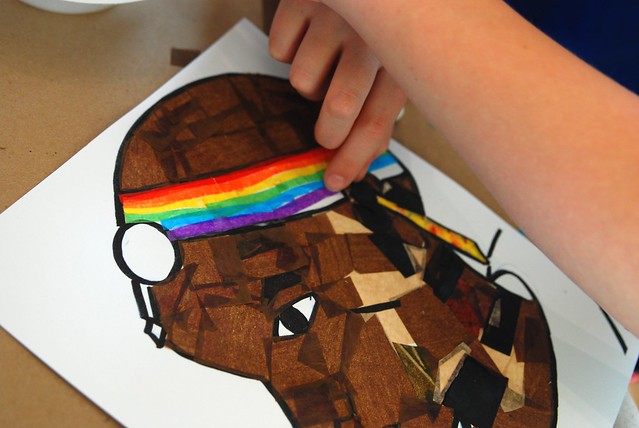
For Part 1 of this process, only various shades of brown and black paper are needed. The goal for this first day is to get the faces and necks covered.
Begin by covering the eye and mouth. You may simplify this process for younger students by allowing them to color the eye and mouth with a crayon or marker.
Procedure for the collage process: Paint glue on a small area of the design. Place paper pieces onto glued surface of the cardstock, leaving the area outside of the image white.
Note: It is important to work with a small area at a time so that the glue does not dry before students can place paper on the glue.
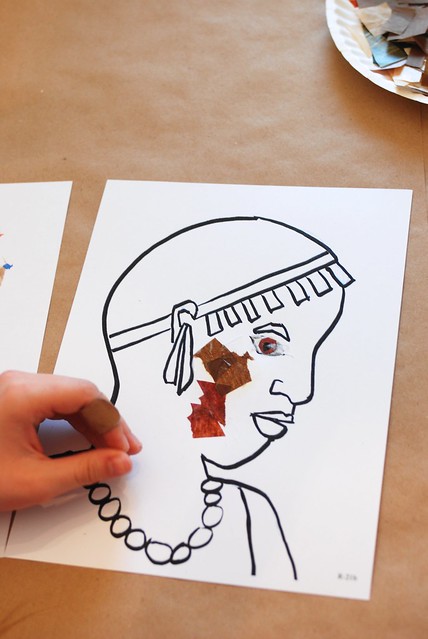
For a more realistic appearance, attempt to shade the face by putting lighter colors of paper on cheekbones and around eyes. Darker colors can form the contour of the jaw and neck.
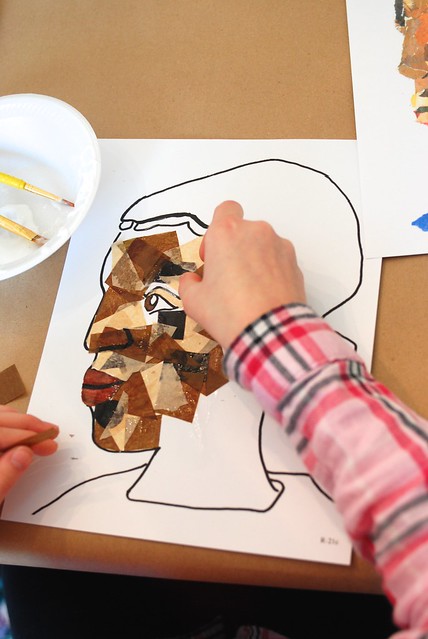
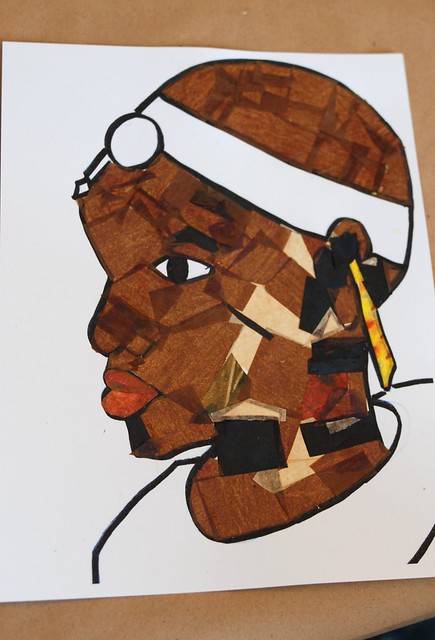
This is a good stopping point for Part 1.
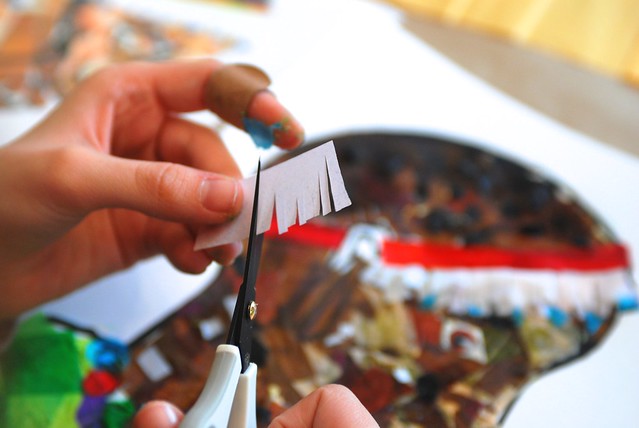
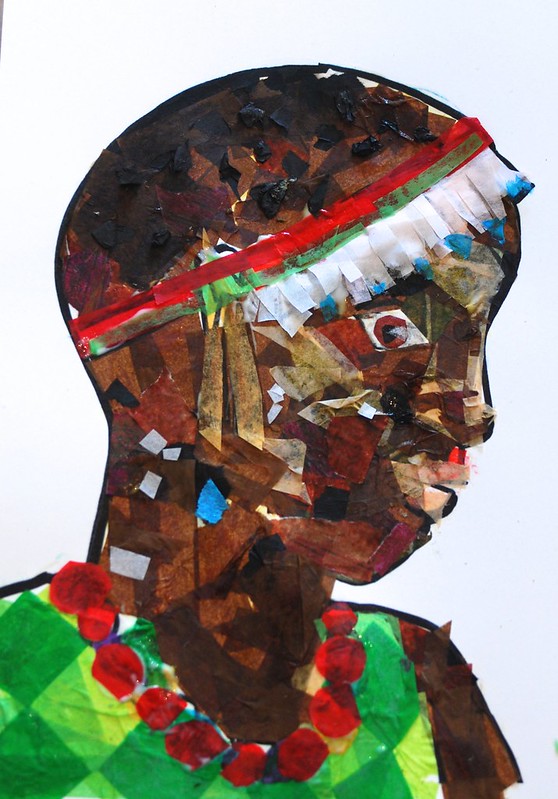
During Part 2 of this project, add color and vibrancy to the collages by decorating the jewelry, headwear and clothing with colorful tissue paper pieces.
Allow students to be creative but also provide examples for inspiration. (Resources R-21e, R-21f, and R-21g)
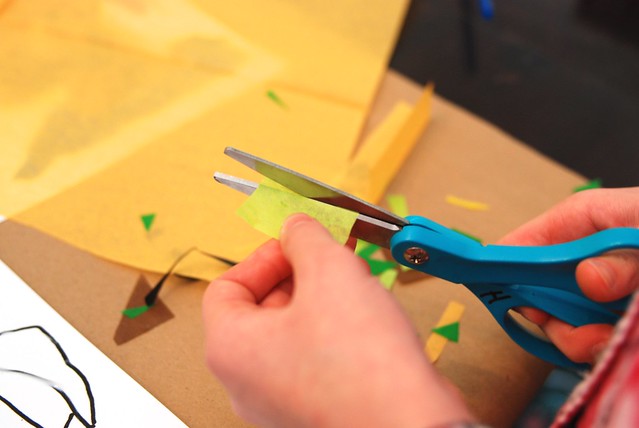
Maybe fringe some paper for the headband or texturize the hair by wadding up the tissue paper? Encourage students to add their own version of creativity to this project.
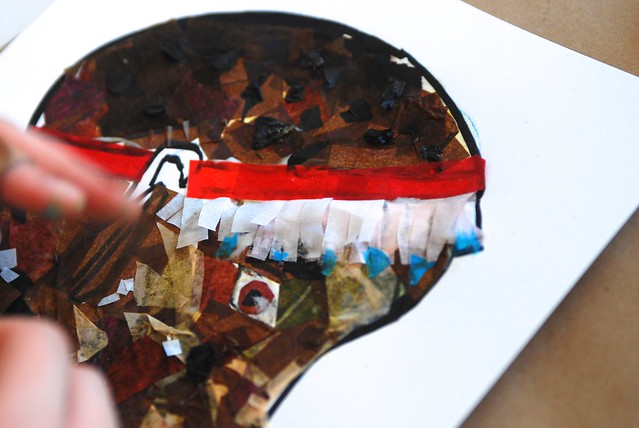
Here are a few more examples of completed projects.


Allow project to dry and then put in a page protector and have students place behind the Art divider their notebooks.
Enjoy this traditional art form while learning about the clothing and dress of the women of Sub-Saharan Africa!
![]()