My daughter, Bekah, is going to walk us through a tutorial on how to make a more advanced version of the Gospel Threads bracelet.
It takes a little patience to get the hang of it at first, but it’s worth the work! Take it Bek!

What you will need:
-
- A 2×4 board with two nails hammered into it about 10 inches apart
- Black string (we used craft lace)
- A white, red, green, and yellow plastic bead
- A black plastic heart bead (a regular black plastic bead can be used if desired)
- Scissors
- A lighter

Instructions:
Cut a piece of black string approximately 15 inches long and another piece approximately 3 feet long.

Tie one end of the short string onto one of the nails by wrapping it around the nail a couple of times before tying it in a single knot.

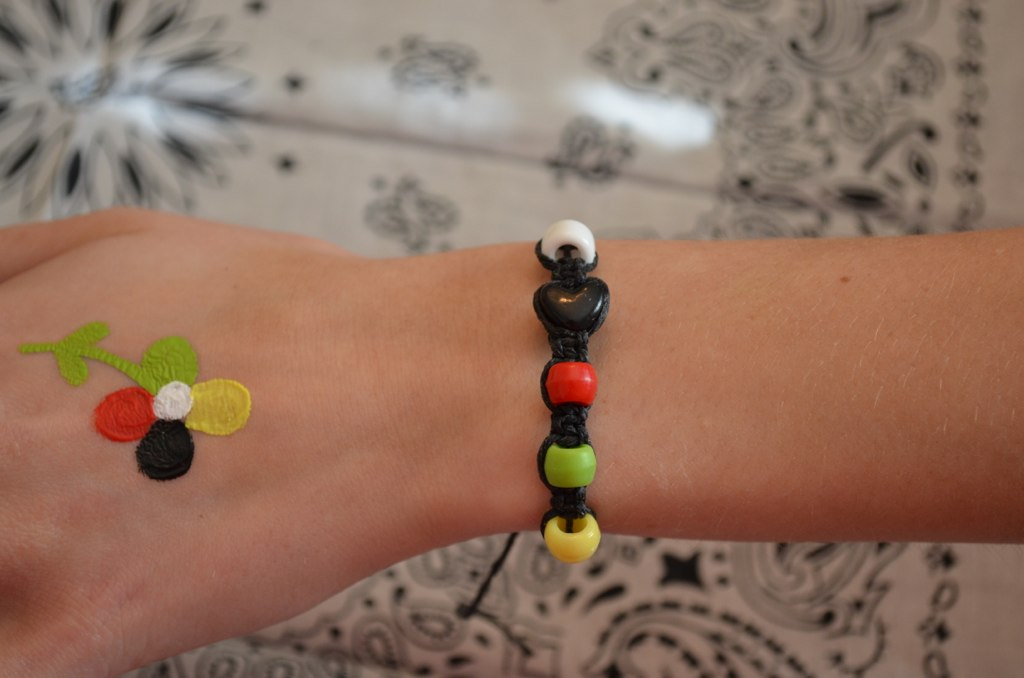
Then string the beads onto it in the order pictured below.

Tie the other end of the string onto the second nail in the same fashion as the first so that there is no slack.

Tie the long string onto the short string with a single knot about 2 inches from the nail furthest from the beads. Try to make the two sides of the long string equal.


Take the left side of the long string and drape it over the short string so that it creates a u-shape.

Take the right side of the string and hold it over the left piece of string.


This is the trickiest step! With the right string, thread it under the X created by the short string and the left side of the long string and thread it through the U created by the left long string.


Pull both ends tight.


Repeat the steps above, starting with the right side of the string this time: drape the right side of the string over the short string…

…hold the left side of the string over the right side of the string…

…thread the left side of the string under the X and through the U…

…and pull it tight.

Continue with this process, alternating the side you start with until you have completed a total of five knots.

Slide the first bead up the string so that it is against the knots you just made.

Do the same type of knot (starting with the opposite side of the string than you did the previous time) around the bead.

Make three more knots, alternating the starting side, and push the next bead up.

Continue this process until you have slid up the yellow bead. Then tie five more knots.

Cut the extra string off and burn the ends so that they do not unravel.

BE CAREFUL NOT TO BURN THROUGH THE BASE STRING!

Untie the string from the nails.

Tie the bracelet around the child’s wrist and cut/burn the ends of the string as needed.


Voila! You now have another memory device for learning the meaning of the Gospel Threads colors.
Find a summary of the colors HERE.
And finally, here are a few pictures of how this process can look “on the field”.