![]()
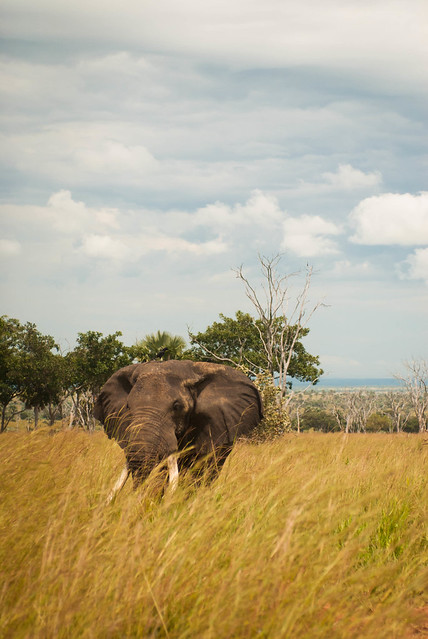
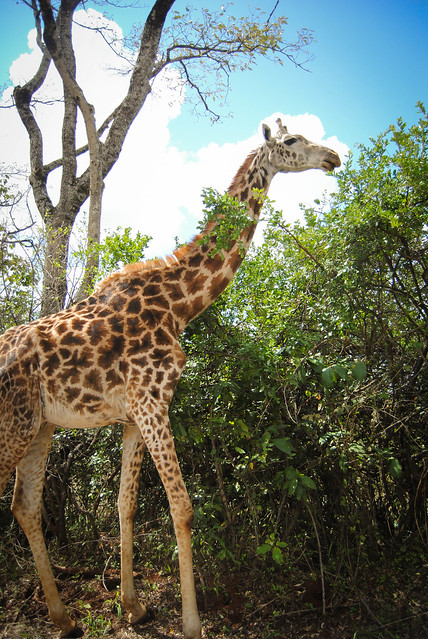
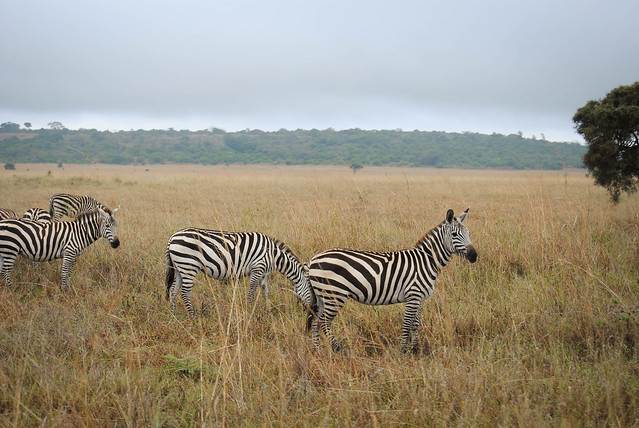
To highlight the amazing animals of the African Savannah, students will create a Safari Animal Paper Chain. Many cultures are familiar with and utilize paper chains for decorations. These festive chains can be used as decorations for holidays, as garland on a tree, or as a border on a board.
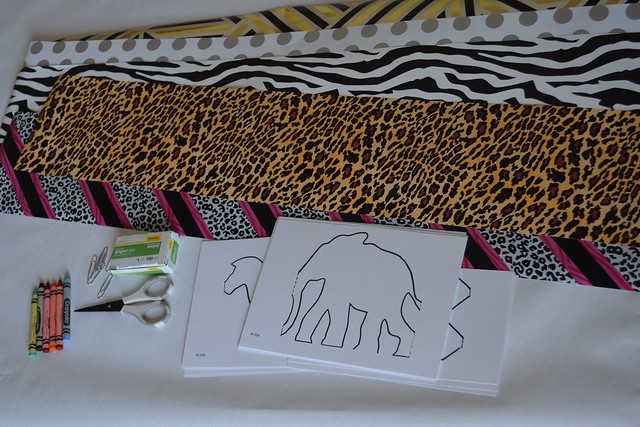
For this project you will need:
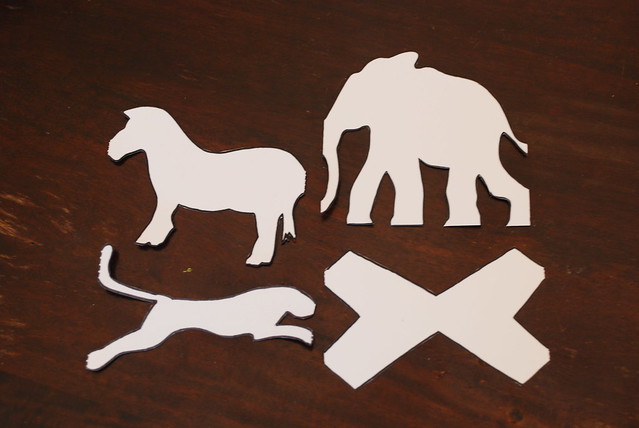
- Paper chain templates:Elephant and Tiger & Zebra
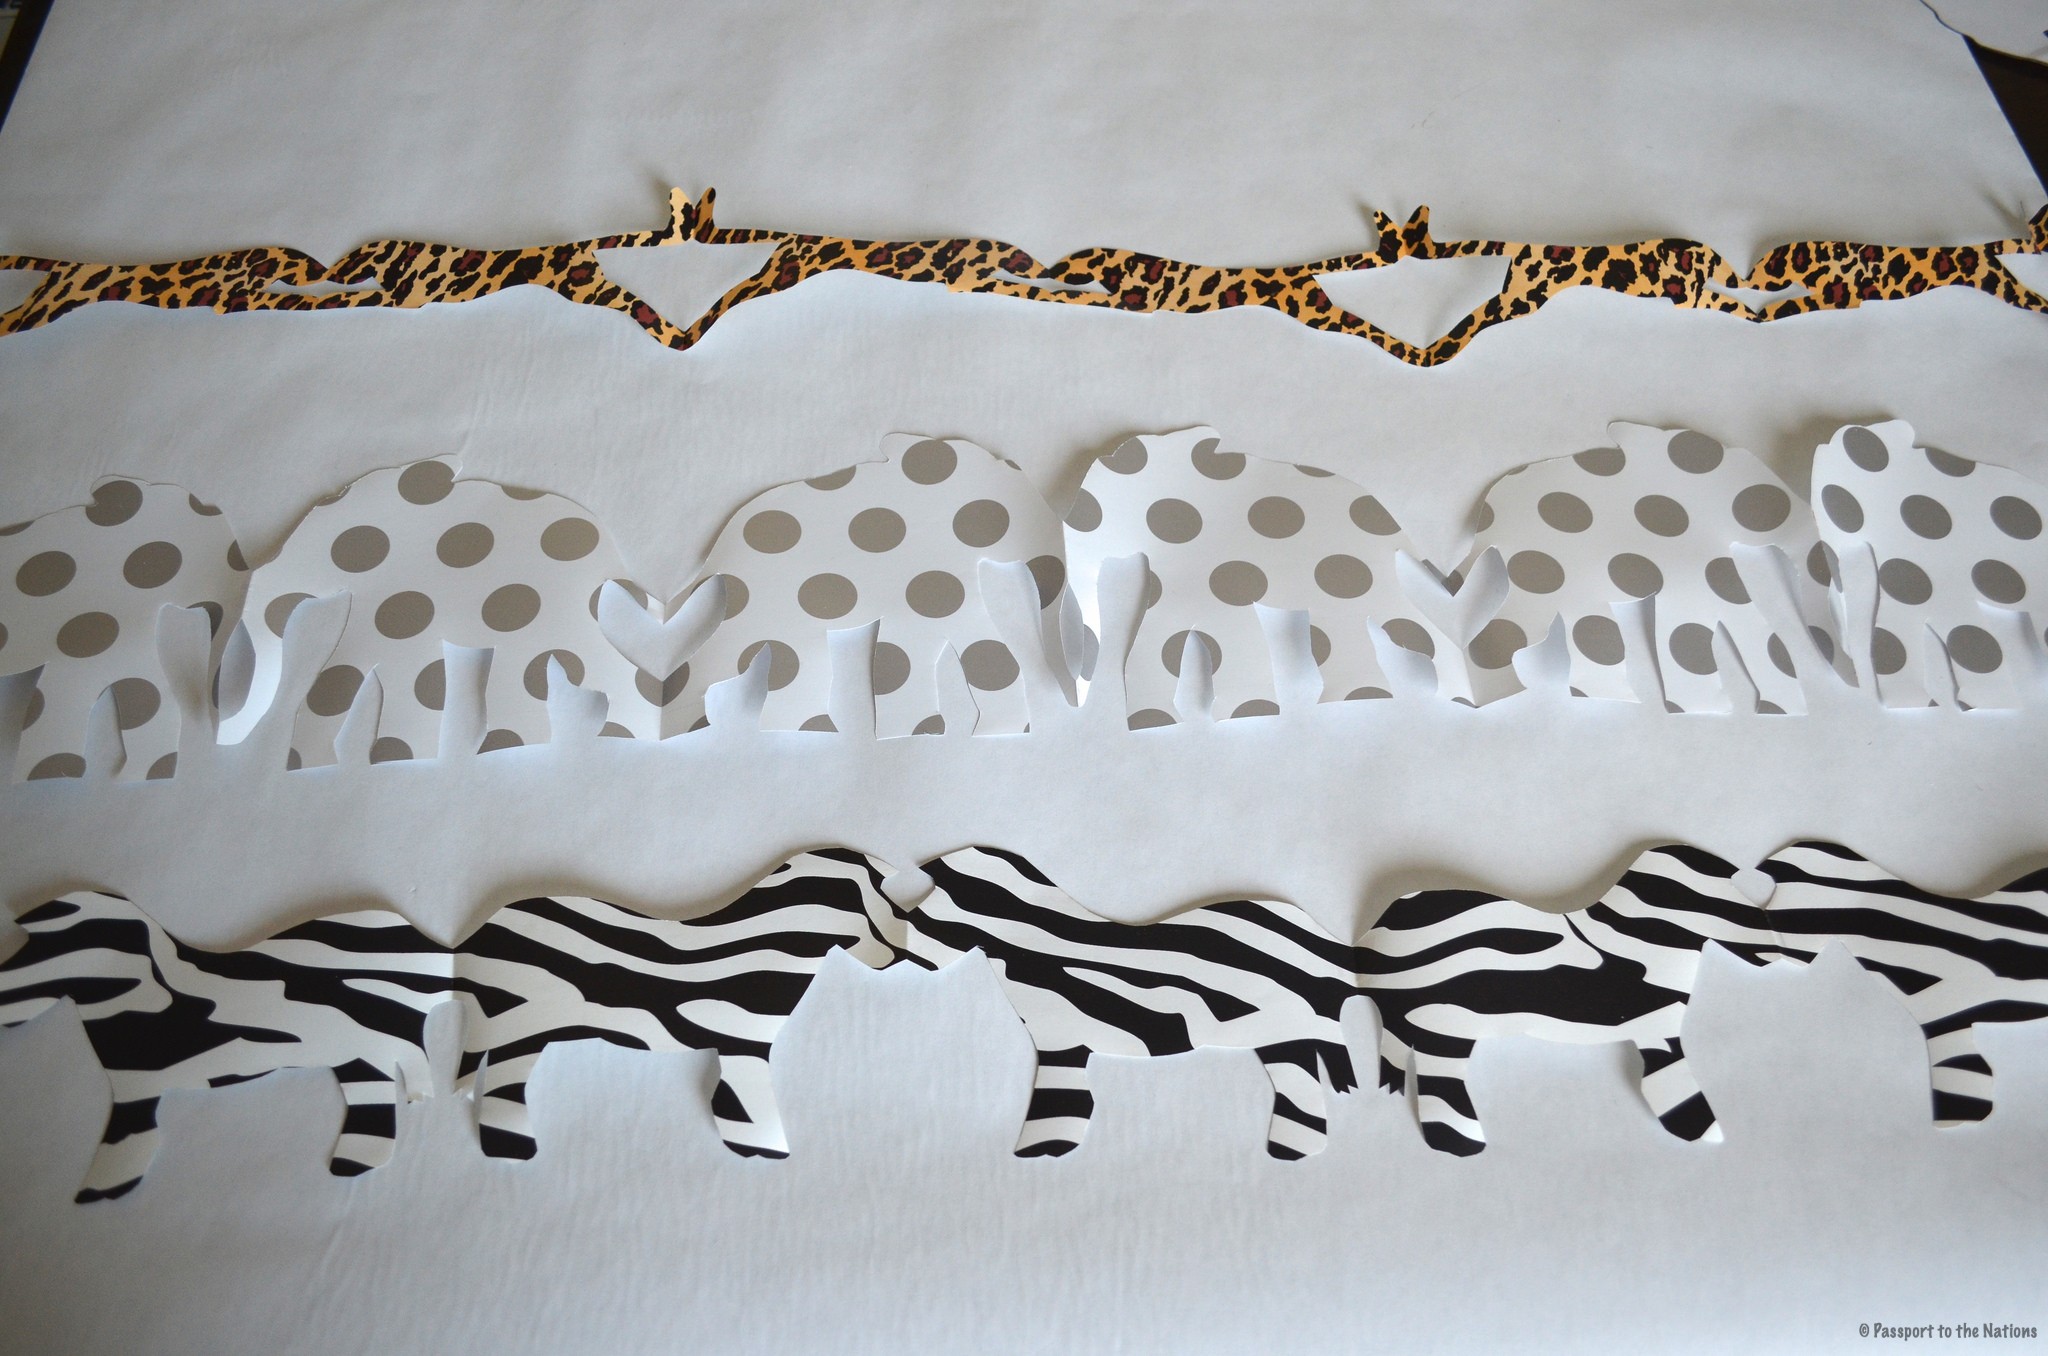
- Paper chain completed samples: Elephant, Zebra & Pattern
- Wrapping paper cut to 6″ x 4′ strips to match the chosen template; purchase African-looking prints (see below)
- Pencil
- Crayon
- Scissors
- Paper clips
Prior to class:
- Purchase African-themed wrapping paper to match animal templates. This kind of paper can be found in the wrapping paper section of most local hobby stores. Purchasing paper with guide lines on the back is a bonus and makes this task much easier!
- Pre-cut the paper into 6″ x 4″ strips.
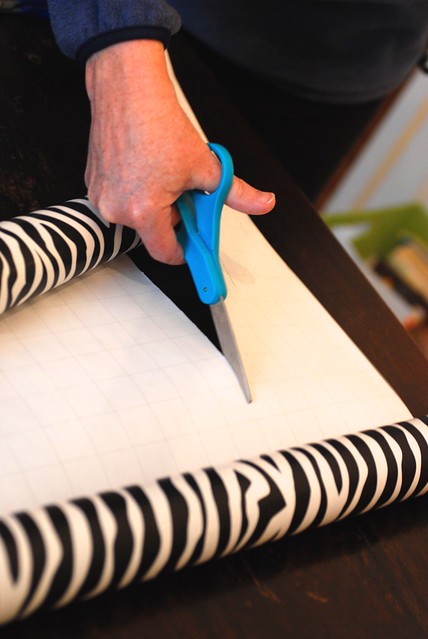
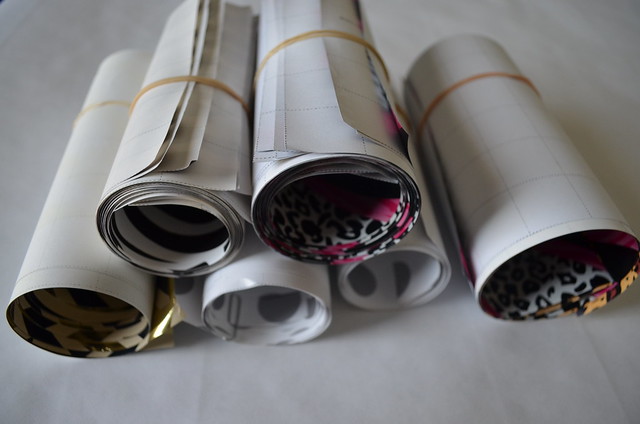
- Roll the paper inside-out and secure with a rubber band. This helps the paper to lay flat, making it easier to work with the wrapping paper.
Note: For younger students (K through 3rd-4th grades), it is also helpful to pre-accordian fold the paper and secure with paper clips (see instructions below; cut out one of each template to use as a guide for folding).
During Class:
Have students choose an age appropriate template: geometric shape and cheetah are easiest for younger students, while the zebra and elephant are more difficult and appropriate for upper elementary + students. Have each student cut out their chosen template.
Next, give each student a strip of pre-cut wrapping paper that matches their template (i.e. gray for elephant, zebra print for zebra, cheetah print for cheetah, and African-themed paper for geometric shape).
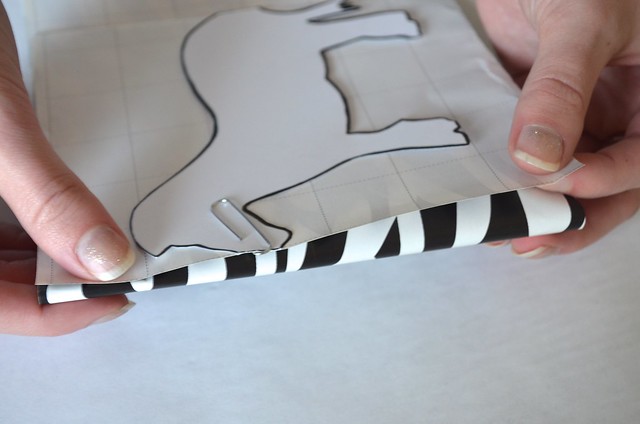
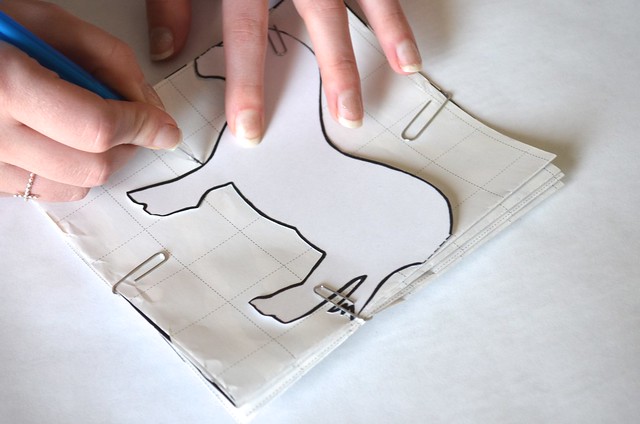
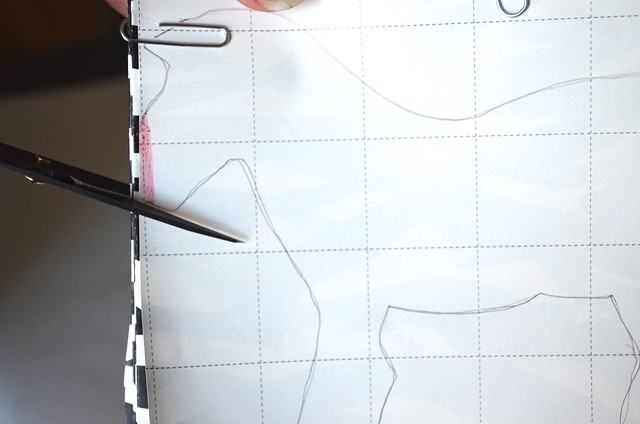
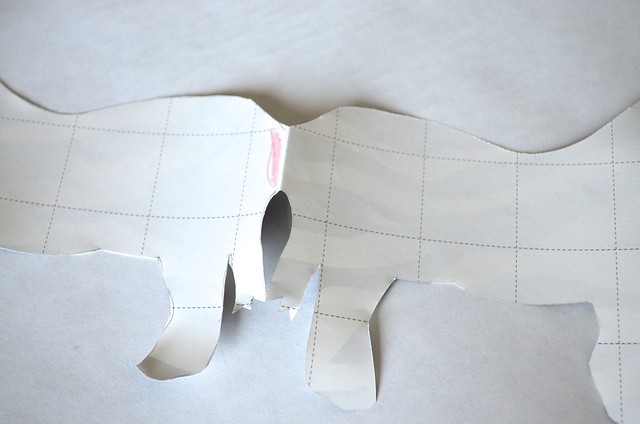
Place the left edge of the cut out template against the left edge of the paper (non-design side up), and secure with a paper clip.
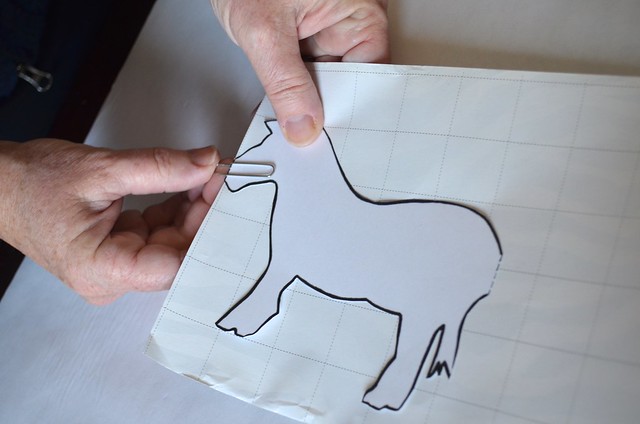
A fold should then be created in the paper at the other edge of the traced template (dotted lines should be on the folded edge).
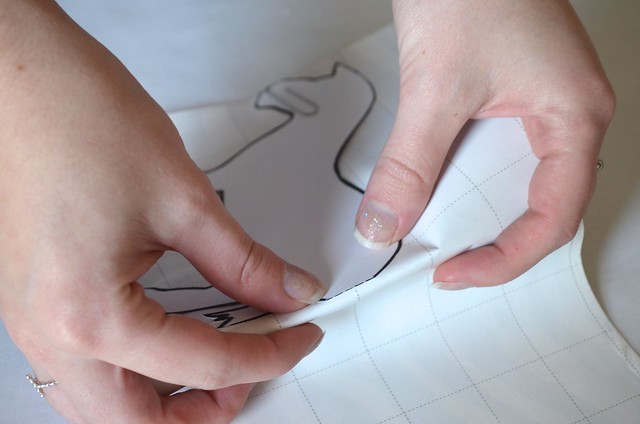
Make sure the design extends to the edge of the paper so that when the animal is cut out, the shapes are connected. Continue folding accordion style.
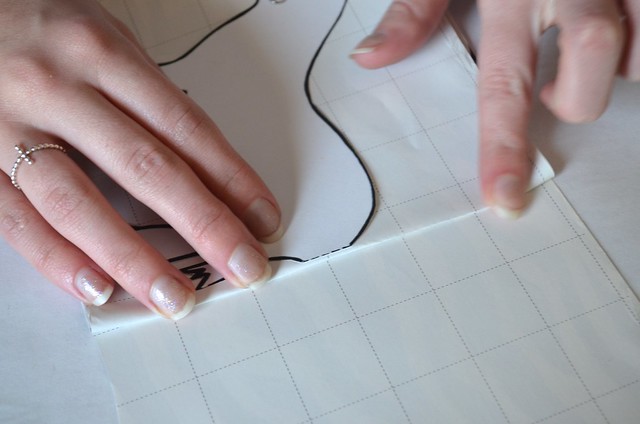
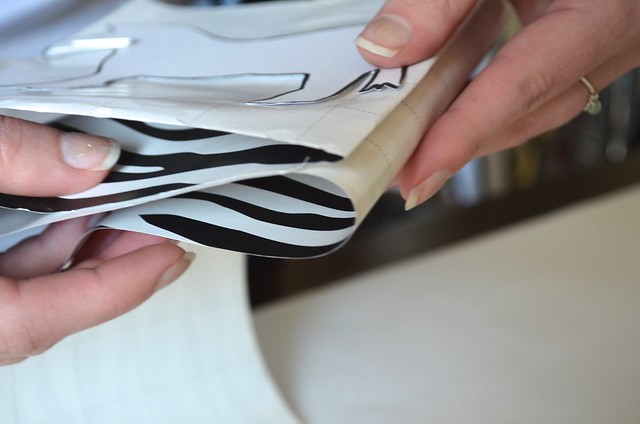
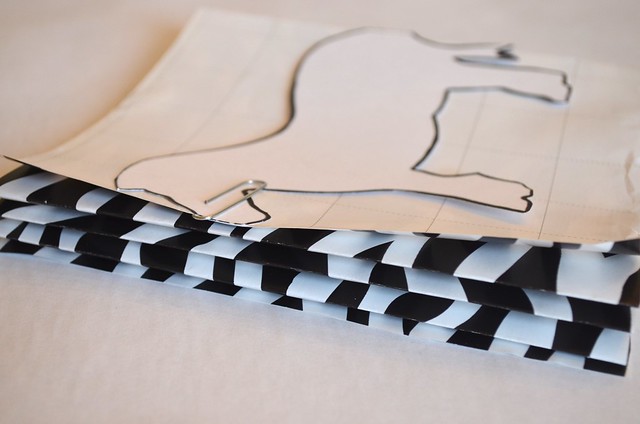
After folding as many times as possible cut off any excess paper. Apply additional paper clips to prevent paper from moving while cutting in future step.
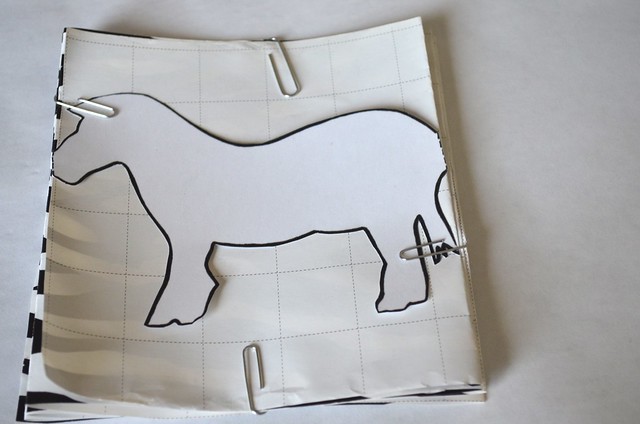
Trace shape onto paper.
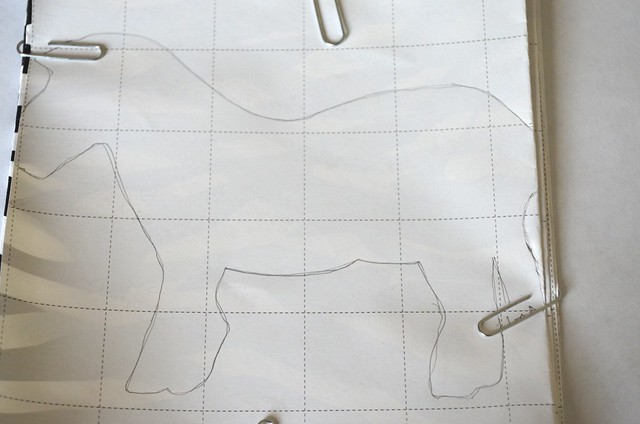
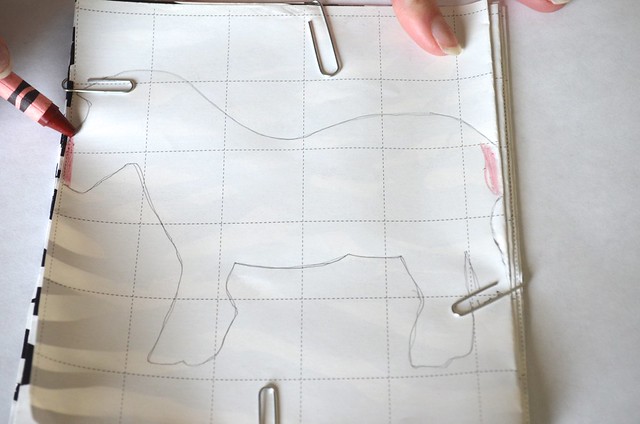
Before cutting, trace with a crayon over dotted areas marked on template. These indicate the places students should NOT cut (this will keep the design connected to create the chain).
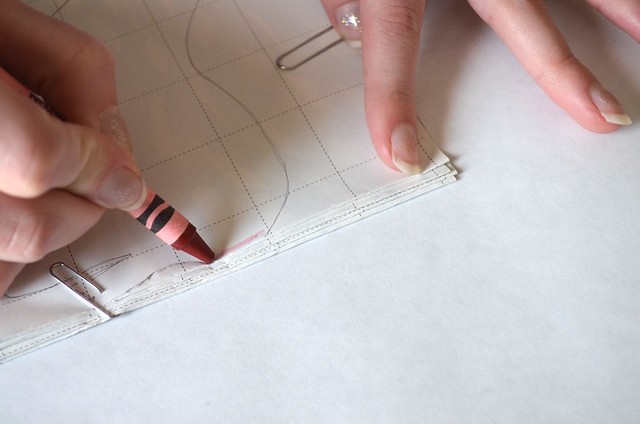
Use scissors to cut around the design. Be sure to avoid colored areas.
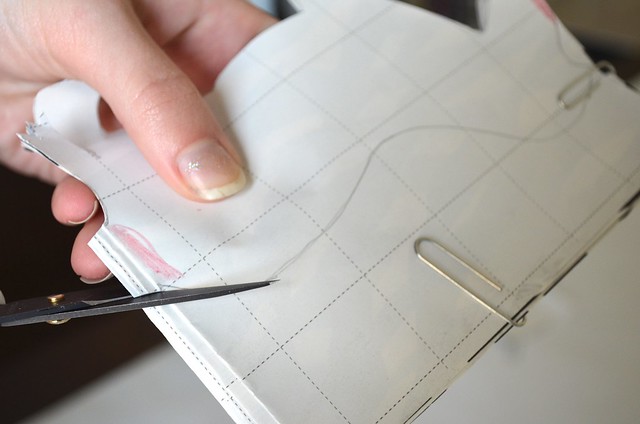
On more complicated shapes, it is also helpful to shade in the animal to help distinguish areas that should NOT be cut.
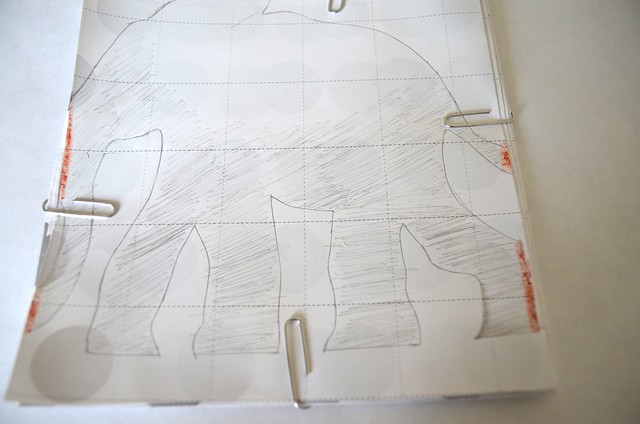
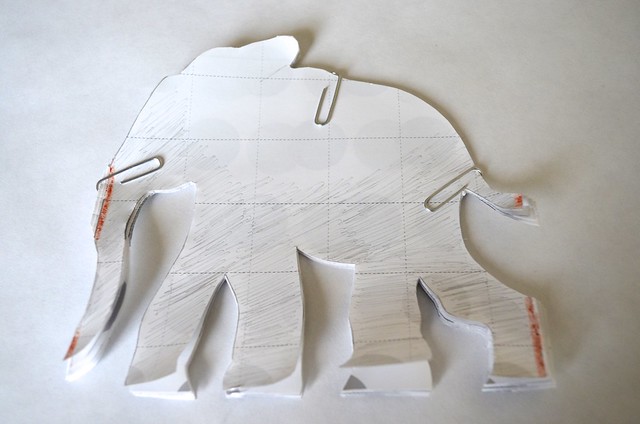
When cutting is completed, remove paper clips and unfold.
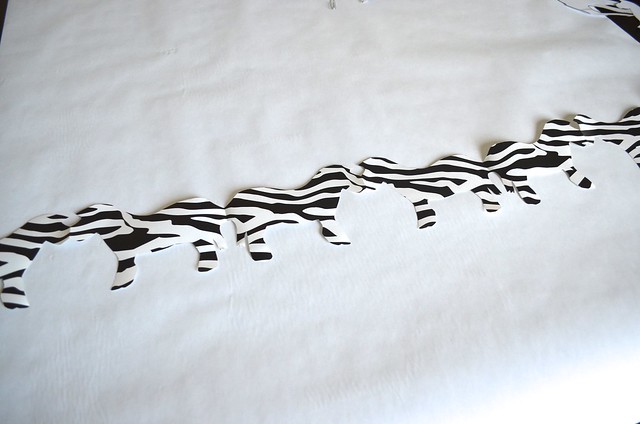
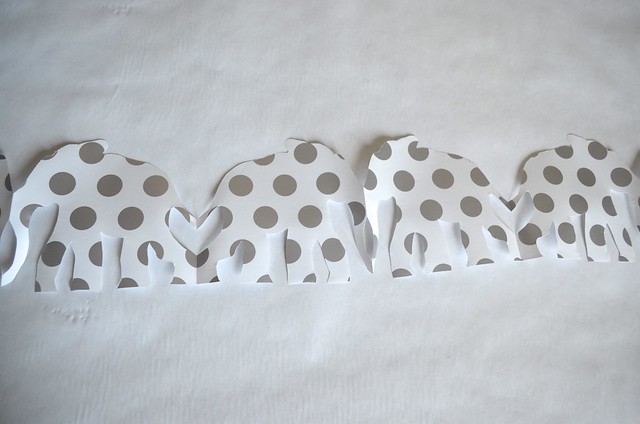
Aren’t these super cute? Which one is your favorite?

Decorate a room with the completed paper chains, or fold and put inside a page protector and place in the “Art” section of your student notebook.
![]()